“`html
How to Replace Bike Handlebar Grips
Are your bike’s handlebar grips beginning to feel worn out or less effective? Replacing your bike grips is an essential maintenance task that can improve your riding comfort and safety. In this comprehensive guide, we’ll dive into the signs that it’s time to replace your grips, the tools needed, and step-by-step instructions for both slide-on and lock-on grips. Our guide will help you navigate the process seamlessly, ensuring your bike is ready for the road or trail.
Recognizing When to Replace Your Bike Grips
Wear and Tear:
Bicycle grips are subjected to constant pressure and friction. Over time, the material of the grips may start to degrade, showing visible signs of wear such as cracks, tears, or thinning. If you notice such deterioration, it’s a clear indicator that replacement is due to maintain optimal grip and safety.
Ignoring wear and tear can not only compromise your control over the bike but also lead to discomfort during rides. Therefore, regular inspection is key to ensuring that your grips are in good condition.
Loss of Traction:
One of the primary functions of handlebar grips is to provide traction so that your hands do not slip, particularly in wet conditions. If you feel your hands slipping more frequently, even when dry, it’s a sign that the material has smoothed out and needs replacing.
Riders who frequently find themselves biking in diverse weather conditions should be especially vigilant about traction loss, as it can significantly affect both safety and performance.
Hardening of Rubber:
As rubber grips age, they can harden over time, losing the pliability that is crucial for absorbing shocks and providing comfort. Hardened grips provide less cushioning, which can lead to an uncomfortable and jarring ride.
This rigidity can also mean that the grip is closer to its breaking point, necessitating a replacement sooner rather than later.
Rotation on the Handlebar:
When grips start rotating on the handlebar without significant force, it can point to internal deterioration or expansion, rendering the grip ineffective. Such movement can lead to unpredictable handling and increased risk during rides.
Ensuring that your grips are securely attached without unnecessary movement is critical for maintaining adequate control over your bicycle.
Comfort and Fatigue:
Experienced riders are acutely aware of comfort levels. If you start experiencing unusual fatigue in your hands or fingers after short distances, it might be your grips failing to provide appropriate support and cushioning.
New grips can revitalize your riding experience, reducing fatigue and improving overall comfort, which is especially important for long-distance riders.
Tools You’ll Need
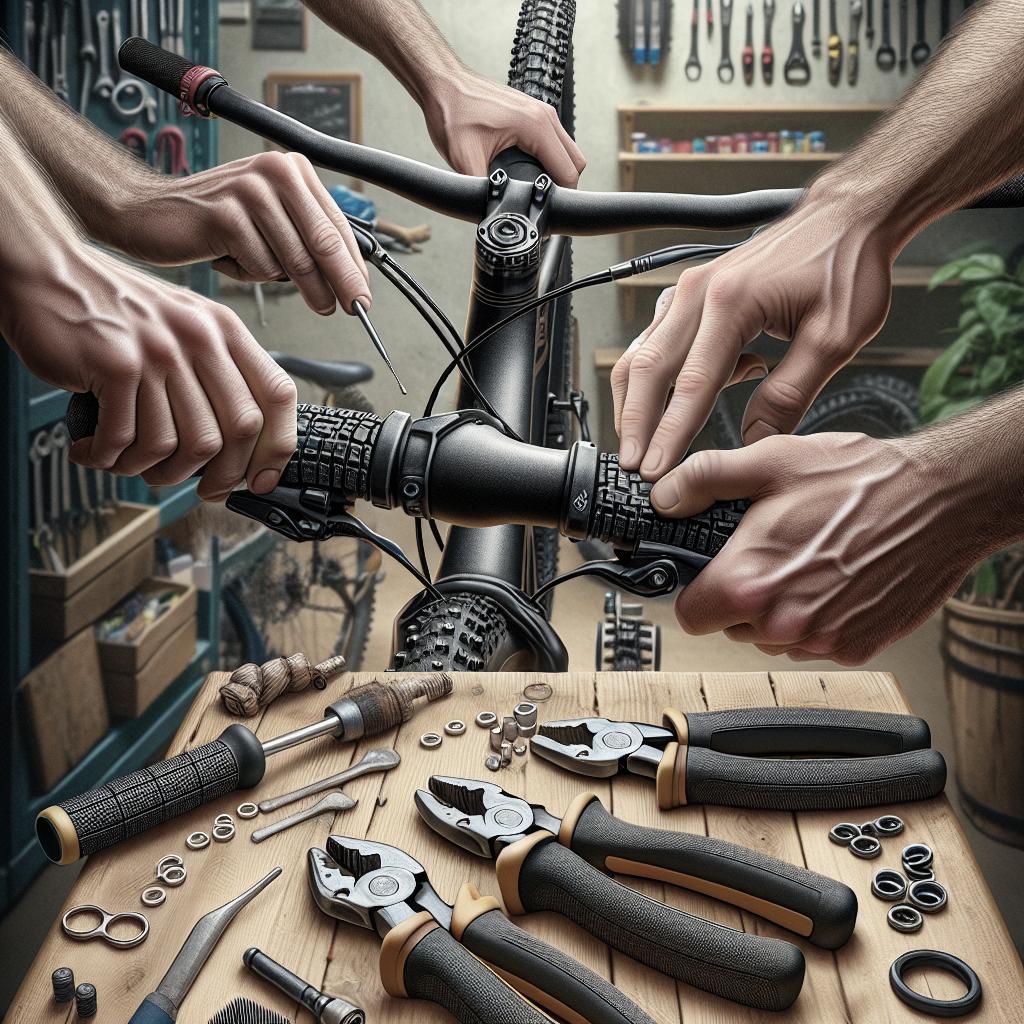
Replacing bike grips requires only a few tools, making it a relatively simple DIY bike maintenance task. You will need a flathead screwdriver or a specific grip remover, an Allen key if you have lock-on grips, rubbing alcohol, and a rag for cleaning.
It’s also helpful to have a utility knife in case you need to cut away old slide-on grips that are particularly stubborn. Make sure to have all these tools on hand before you begin to make the process smooth and efficient.
Remove Old Grips
Start by cleaning the handlebar area. Carefully slide a flathead screwdriver under the edge of the old grip to create a gap. Once you have a gap, you can spray a small amount of rubbing alcohol to loosen the adhesive hold.
If the grips are particularly stubborn, you may need to carefully cut them with a utility knife, taking caution not to scratch the handlebars. Once removed, use a rag with some rubbing alcohol to thoroughly clean the handlebar surface.
Install New Grips
The process for installing new grips depends on their type. For slide-on grips, apply a small amount of rubbing alcohol inside the grip and on the handlebar to lubricate and ease installation. Slide the new grip onto the handlebar and let it dry.
With lock-on grips, place the grip in the desired position and use the Allen key to tighten the clamp, ensuring the grip is secure and does not rotate. This method ensures a firm hold and is often preferred for more aggressive riding styles.
How to Remove and Install Slide-on Bike Grips?
Removing
To remove slide-on grips, first inspect the grip for tears or damage, which might make removal difficult. Utilizing a screwdriver to create space, spray rubbing alcohol under the grip and twist it off slowly.
If alcohol doesn’t work, a thin soap-water mix can help in loosening the grip. Always take care to avoid using excessive force, which could damage the handlebars.
Installation
Before installing new slide-on grips, ensure the handlebar is spotless. Apply a bit of rubbing alcohol inside the grip, making them easier to slide on comfortably.
Firmly push the grips onto the handlebar, ensuring even distribution and alignment. Wait until the alcohol completely evaporates before riding to prevent any movement.
Special Trick
A neat trick to aid the installation of slide-on grips is to use compressed air. Place a compressor nozzle under the grip and inflate slightly, allowing the grip to easily slide on without the need for lubrication.
This method minimizes mess and reduces the waiting time before your grips are road-ready.
How to Remove and Install Lock-On Bike Grips?
Removing
Start by locating the bolts on the lock-on clamps. Using the appropriate Allen key, unscrew the bolts. Once the lock is released, the grip should slide off smoothly without the need for any additional lubricant.
If the grip seems stuck even after releasing the bolts, a small wave of alcohol can assist in removing any residual resistance, ensuring a gentle removal process.
Installation
To install lock-on grips, align the grip on the handlebar and ensure it sits comfortably in the desired position. Insert and tighten the bolts with the Allen key until firmly secure.
Make sure not to overtighten, as this could damage the clamp or strip the threads. Testing the grip for movement is a good practice to confirm installation.
“`