“`html
How to Patch a Bicycle Tire
Patching a bicycle tire is a vital skill for any cyclist, ensuring you’re ever-ready to tackle those unexpected punctures during a ride. This comprehensive guide walks you through the process, from gathering necessary tools to applying the patch successfully. By breaking down each step intricately, you’ll gain a clear understanding of how to efficiently restore your bike’s tire without any hassle. Additionally, this article also introduces essential tips to enhance the durability of your patches, ensuring longevity and reliability during future rides. By the end of this guide, you’ll not only be proficient in patching a tire but also prepared for any biking journey with confidence.
Tools Needed
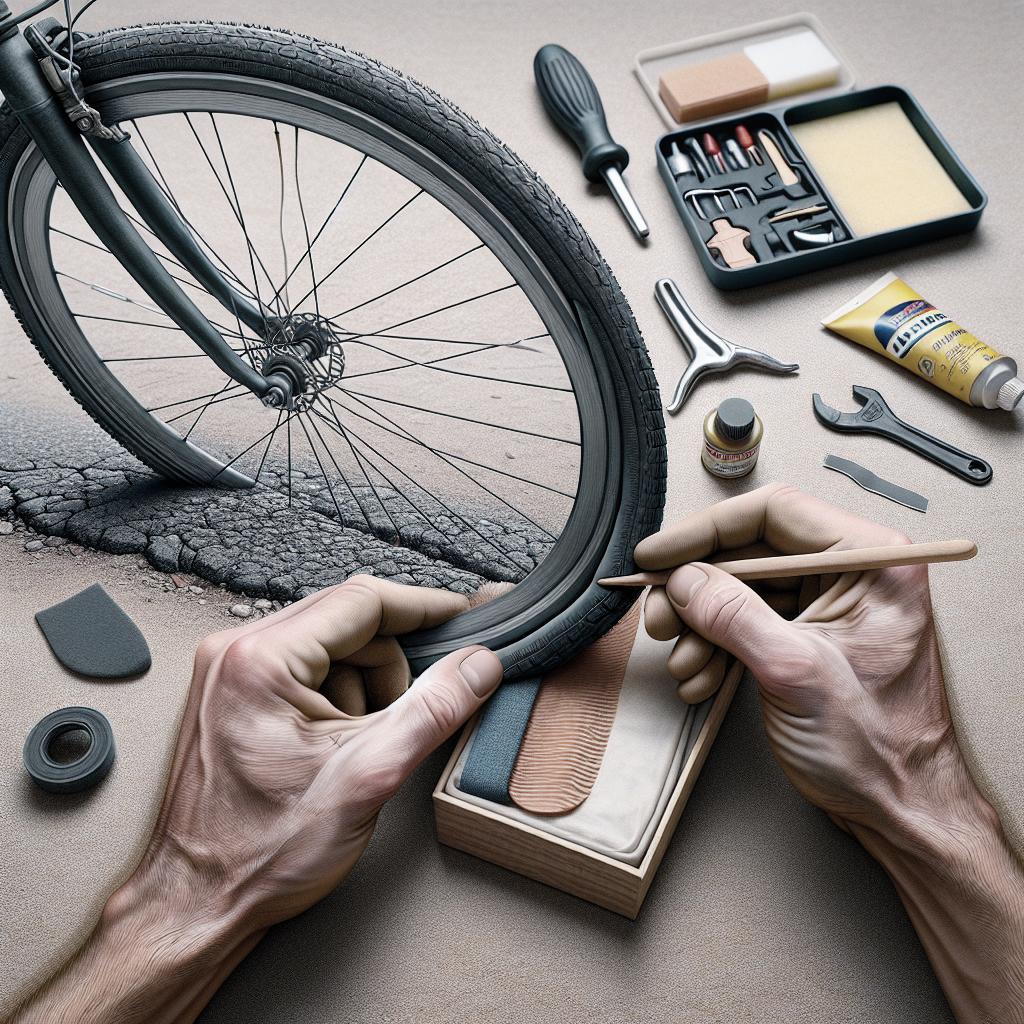
Before you begin the process of patching a bicycle tire, it is crucial to assemble all the necessary tools. This ensures that you can work efficiently without interruptions. Common tools include tire levers, a patch kit, which usually contains glue and patches, a hand pump or CO2 inflator, and sandpaper.
While these tools form the basics, having a work stand or some form of support to hold your bicycle can be significantly helpful. Additionally, a marker can come in handy to pinpoint the puncture accurately. With these ready, you will be well-equipped to handle the task at hand.
Removing Your Inner Tube
1. Remove the Wheel
The first step in removing your inner tube is to take off the wheel of your bicycle. It’s advisable to flip your bicycle upside down, resting it on its handlebars and seat. This position provides stability and makes wheel removal easier.
Detach the wheel by loosening the nuts or the quick-release skewer, depending on your bicycle type. Carefully remove the chain from the derailleur if you’re working on a rear wheel. The wheel should now be detached and ready for the next step.
2. Unhook the Tyre
Once the wheel is off, you need to focus on removing the tire. Start by deflating the tire completely if it’s not already flat. Using tire levers, insert one between the rim and the tire bead to pry the tire away from the rim gently.
Work your way around the rim, using the other’s leverage to unhook the tire fully. Be careful not to pinch the inner tube during this process. Once you’re done, one side of the tire should be off, allowing access to the inner tube.
3. Inspect the Tyre
With the tire partially removed, it’s essential to inspect it for any sharp objects that may have caused the puncture. Run your fingers along the inside of the tire cautiously to detect any lingering debris.
Remove any foreign objects found, as leaving them will cause future punctures. Inspecting the tire thoroughly ensures that you don’t patch the inner tube only to have it punctured again immediately.
Repairing the Inner Tube
1. Inspect the Tube
With the tire inspected and free from debris, it’s time to examine the inner tube. Inflate the tube slightly to locate the puncture. Listen for air hissing, or submerge a section of the tube in water to look for bubbles.
Mark the puncture area with a marker for easy identification. Ensure no other leaks exist by inspecting the entire tube, as multiple punctures are possible. A thorough check is crucial to avoid future repeated efforts.
2. Prepare the Tube for Patching
Before applying the patch, prepare the tube’s surface for optimal adhesion. Use sandpaper to roughen a small area around the puncture site. This ensures the glue sticks better to the tube, securing the patch more effectively.
Clean the sanded area with a cloth to remove any dust or residue. Preparation is key, as a clean and roughened surface will significantly enhance the patch’s bonding with the tube.
3. Apply the Glue
Once the area is prepped, it’s time to apply glue. Use rubber cement from your patch kit, applying a thin and even layer over the prepared area. It’s important to cover a slightly larger area than the patch itself.
Allow the glue to dry slightly until it’s tacky to the touch. This step is crucial as applying the patch too soon can result in poor adhesion. A little patience here will ensure a more reliable repair.
4. Patch the Hole
With the glue ready, take the patch from your kit, peeling off any protective layer it might have. Carefully place it over the glued area, pressing down firmly to ensure a strong bond with the tube.
Hold the patch in place and apply pressure for a few minutes, ensuring it adheres properly. Ensure there are no air bubbles under the patch for a perfect seal. Once secure, the patch should hold the pressure successfully without leaks.
5. Final Check
Re-inflate the inner tube slightly to check the repair’s success. Listen or feel around the patched area for any leaks. If all seems well, deflate the tube once again to facilitate refitting.
It’s essential to confirm that the puncture was correctly sealed. A successful final check assures confidence in the patch, preventing future issues and ensuring a smooth biking experience.
6. Refitting the Inner Tube
With the tube repaired, it’s time to refit it back into the tire. Insert the inner tube into the tire, ensuring it sits evenly around the rim. Begin reattaching the tire bead to the rim by hand, working your way around.
Make sure not to pinch the tube between the tire and rim as you do this. Once securely in place, inflate the tire to the recommended pressure and reattach it to the bicycle. You’re now ready to continue your riding adventures confidently.
Get The Leadout Newsletter
Stay ahead of all your cycling needs by subscribing to The Leadout Newsletter. Get tips, tricks, and the latest updates in the biking world delivered straight to your inbox. Whether you’re an avid cyclist or a weekend warrior, there’s always something new to learn. Join our community and ride into a world of endless adventures!
Final Thoughts
Repairing a bicycle tire is a valuable skill, ensuring you’re never caught off guard on your rides. Following the steps outlined not only equips you to handle punctures efficiently but also teaches self-reliance and preparedness.
With the knowledge gained, you’re now ready to tackle any flat tire confidently and continue your ride with minimal interruptions. Embrace the journey, enjoy the ride, and remember, practice makes perfect!
| Step | Description |
|---|---|
| Tools Needed | Gather essential tools like tire levers, patch kit, pump, and sandpaper. |
| Removing Your Inner Tube | Remove the wheel, unhook the tire, and inspect for debris. |
| Repairing the Inner Tube | Inspect the tube, prepare and patch the puncture, and refit the tube. |
| Get The Leadout Newsletter | Subscribe for biking tips and updates. |
“`