“`html
Introduction: Restore an Old Bicycle
Restoring vintage bicycles is an art that combines craftsmanship with passion. It’s not just about bringing an old bike back to life; it’s about celebrating the history encapsulated in its frame and components. Whether you’re a seasoned bike enthusiast or a curious beginner, this guide will walk you through each step of the restoration process. From disassembling the bike to replacing old parts, each stage is an opportunity to learn valuable skills. Unleash your inner mechanic, and by the end of this process, you’ll not only have a rejuvenated ride but also a newfound appreciation for the intricacies of bicycle engineering. Let’s dive in to discover the pieces of this captivating puzzle and embark on your journey of mechanical restoration.
Step 1: What You’ll Need
Before you begin, gather all the necessary tools and materials. Having everything at your disposal makes the restoration process seamless and efficient. Essential tools include a set of screwdrivers, wrenches, a bike repair stand, and lubricants. Specialty items like a chain tool, spoke wrench, and bottom bracket tool might also be necessary, depending on your bike model.
Additionally, acquire the materials needed for rust treatment and painting. This includes sandpaper, rust remover, primer, spray paint, and clear coat. You’ll also require cleaning supplies such as degreasers and brushes. Organizing these in a designated workspace will save time and keep your project organized, allowing you to jump right into the restoration without constant interruptions.
Step 2: Disassembly
Begin by carefully dismantling the bicycle. Take photos or make notes for reference; this documentation will be invaluable during reassembly. Start with removing larger components like wheels and handlebars, then progress to smaller parts like the chain and brake cables.
Pay close attention to the condition of each part. Set aside worn or broken pieces for replacement and carefully clean reusable components. Keeping parts organized and labeled ensures a smoother reassembly process and reduces the risk of losing any small pieces along the way.
Step 3: Preparing to Prime
Next, prepare the frame and other metal components for priming. Sand down rough spots and thoroughly clean the surfaces to remove any residual grease or debris. This step is crucial for ensuring the primer and subsequent paint layers adhere well to the metal.
Use a degreaser to ensure all oil residue is gone, and rinse it off thoroughly. Dry each part completely before moving to the next step. The more meticulous you are in this phase, the better your results will be with the finished paintwork, resulting in a more professional and long-lasting finish.
Step 4: Rust Treatment
Address any rust on the frame and other metallic parts. A rust remover can be used to treat affected areas. Apply the product according to its instructions, allowing it plenty of time to work and provide optimal results.
Once the rust is treated, sand the areas again to create a smooth surface. Rust treatment is critical not only for aesthetics but for preventing future deterioration. Protecting your bike from rust ensures its longevity and riding safety, making this a step you don’t want to overlook.
Step 5: Priming the Metalwork
The priming stage begins once the frame and metal parts are prepared. Choose a primer that suits your intended paint and application method. Spray primers tend to offer even coverage and are beginner-friendly.
Apply the primer in light coats, allowing each coat to dry thoroughly before adding the next. This may require patience, but rushing can lead to unsatisfactory results. Priming provides a solid base for your paint and can even help conceal minor imperfections on the surface, ensuring a professional finish in the subsequent steps.
Step 6: Painting Time!
Now it’s time to bring color back to your vintage bicycle. Select a high-quality spray paint and apply several thin layers, allowing each to dry as per the instructions on the paint can. This avoids runs or sags and promotes a smooth, even finish.
Consider implementing your creative flair in this aspect, perhaps matching the bike’s original color to maintain its historical aesthetics or choosing a new scheme to make it uniquely yours. Once the final paint layer is dry, applying a clear coat protects the paint from chips and scratches, enhancing durability.
Step 7: Cleaning, Degreasing, Paint Stripping the Other Components!
While waiting for the paint to dry on the frame, focus on other components. Clean and degrease components like the fork, handlebars, and pedals. This ensures every piece complements the newly painted frame, giving your bike a cohesive look.
If necessary, strip old paint from these parts before reapplying new paint or polish. A consistent finish throughout the bike conveys attention to detail and dedication to the restoration process, making your vintage ride a head-turner on the road.
Step 8: Deliveries and New Parts!
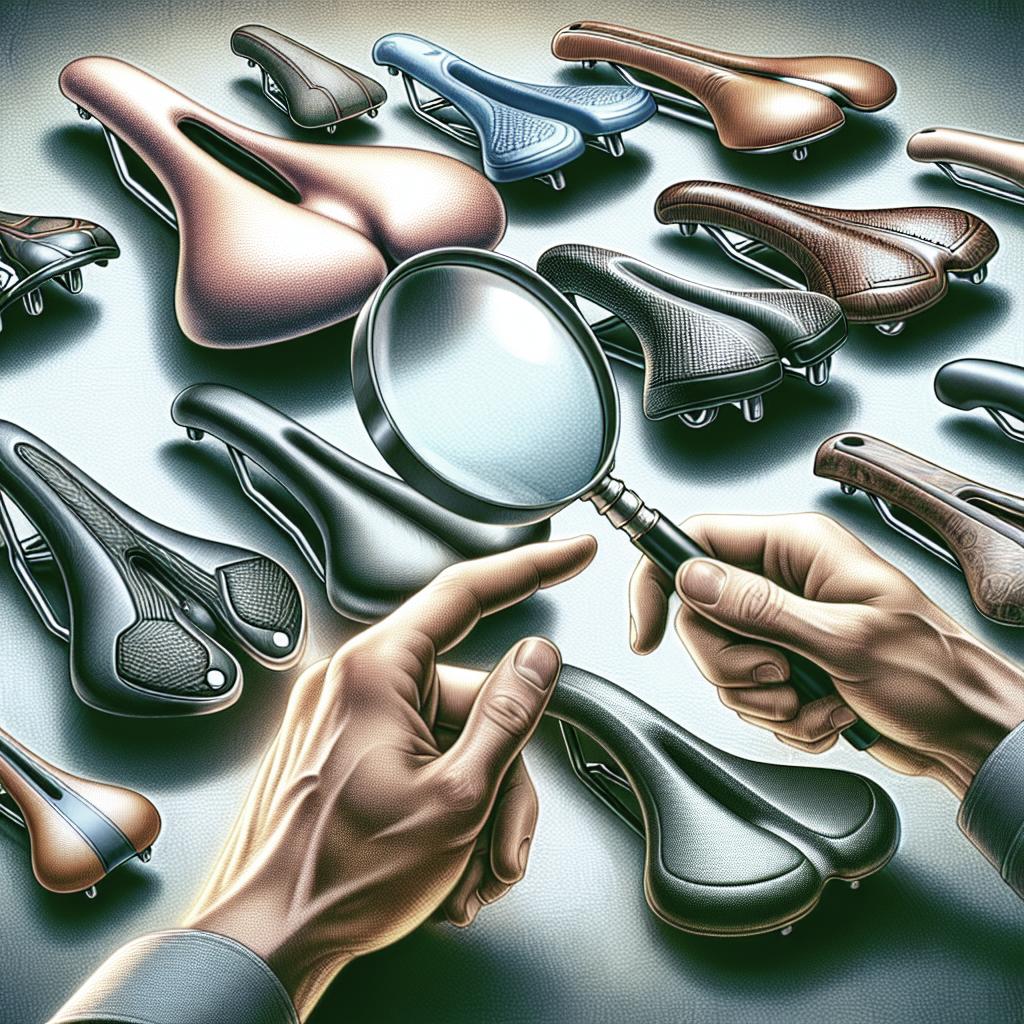
During restoration, you may need to order replacement parts. This could be an opportunity to upgrade components such as the saddle, grips, or even tires, balancing historical design with modern advancements for a comfortable ride.
Keep track of deliveries to stay on schedule. Once received, review each part for quality, ensuring they meet your requirements and enhance your vintage bicycle’s performance and appearance.
Step 9: Replacing the Bottom Bracket and Cranks
Reassemble the drivetrain components, beginning with the bottom bracket and cranks. These parts require precise fitting to ensure a smooth pedaling experience. Refer to your documentation or manufacturer’s instructions for proper torque settings.
This stage is crucial for achieving mechanical harmony. Proper alignment and securing of these components will enhance your bike’s functionality and prevent unnecessary wear and tear in the future, affirming the structural integrity of your restored bicycle.
Step 10: The Chain Goes Back On
Inspect the bike chain for wear and rust. Replace it if necessary. If using the original chain, clean and lubricate it thoroughly before reinstallation. A well-maintained chain is essential for smooth shifting and efficient power transfer.
When reinstalling, ensure it’s correctly aligned to prevent derailment during rides. A careful approach here maximizes your bike’s performance and reliability, completing the drivetrain restoration with finesse.
Step 11: Brakes and Cables
Reattach or replace brake systems and cabling. New cables and housing often improve performance, providing responsiveness and reliability. Assess the brake pads for wear, replacing them if needed to ensure safe stopping power.
Ensure brake alignment with the wheel rims and adjust accordingly for optimal operation. Precision in this area enhances safety and rider confidence, completing your bicycle’s mechanical rebirth with quality assured.
Step 12: Finishing Touches
Lastly, reassemble any remaining parts and check that everything is secure. Consider adding accessories such as reflective decals or vintage-inspired bags to add personal character to your ride.
Perform a final quality check, ensuring each component is functioning as expected. This attention to finishing touches culminates your restoration project, readying your vintage bicycle for many enjoyable rides ahead.
Future Prospects
| Step | Key Actions |
|---|---|
| What You’ll Need | Gather tools like wrenches, screwdrivers, and materials like primer and paint. |
| Disassembly | Take apart the bike, label parts, and inspect for replacements. |
| Preparing to Prime | Sand and clean metal surfaces to prepare for primer application. |
| Rust Treatment | Treat rust and sand smooth before further processing. |
| Priming the Metalwork | Apply primer in thin layers to prep for painting. |
| Painting Time! | Spray the paint in layers, add a clear coat for protection. |
| Cleaning Other Components | Clean, degrease, and possibly repaint or polish other parts. |
| Deliveries and New Parts | Order and inspect necessary replacement parts. |
| Replacing Bottom Bracket/Cranks | Install the bottom bracket and cranks, ensuring alignment. |
| The Chain Goes Back On | Clean or replace the chain, align it properly. |
| Brakes and Cables | Reattach or replace, adjust brakes, and route cables. |
| Finishing Touches | Final reassembly, add unique accessories, perform checks. |
“`