“`html
Introduction: Restore an Old Bicycle
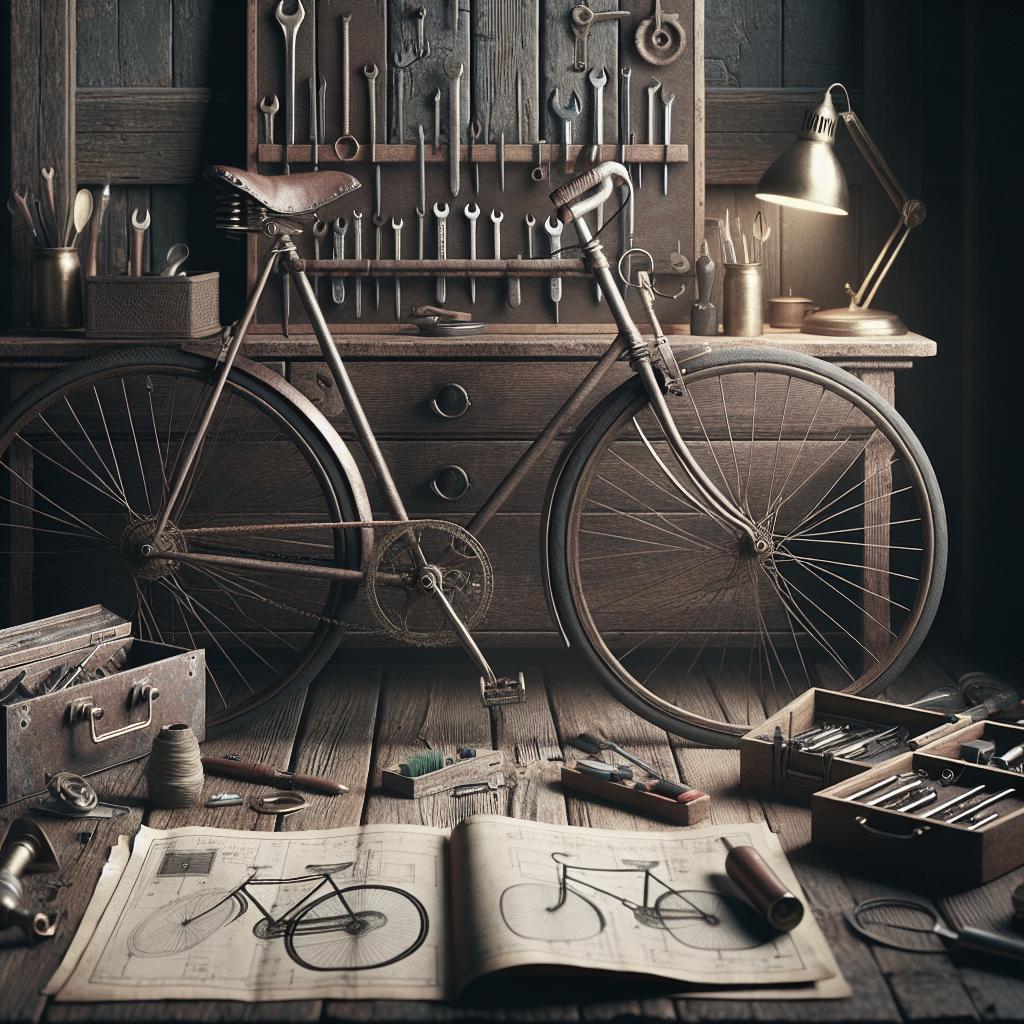
Reviving a vintage bicycle can be a rewarding project that not only brings a piece of history back to life but also enhances your skills in mechanics and restoration. This guide walks you through the steps of transforming a weathered, classic bicycle into a gleaming ride with charm and character. From gathering the necessary tools and disassembling the bike to treating rust, priming, painting, and reassembling, each step is designed to ensure that your vintage treasure is rejuvenated with both aesthetic appeal and functionality in mind.
Step 1: What You’ll Need
Restoring a vintage bicycle requires a collection of tools and materials to help you through the entire process. Basic tools such as screwdrivers, wrenches, and pliers are essential for disassembly and reassembly. You’ll also need protective gear like goggles and gloves for safety during tasks like rust treatment and painting. Complement these with specific bicycle tools like a chain tool, tire levers, and a spoke wrench to handle more specialized tasks.
Materials you’ll need include rust remover, metal primer, quality paint, and grease for reassembly. Tip: always opt for high-quality products, especially in paint and grease, to ensure longevity and a professional finish. Additionally, have a clean workspace and some old rags on hand to keep your environment tidy and functional.
Step 2: Disassembly
The disassembly stage is where the transformation begins, requiring careful attention to detail. Start by removing the wheels, followed by the seat, handlebars, and brakes. Pay close attention to how each component is attached, taking notes or photos if necessary for easier reassembly later. Be gentle when removing bolts and nuts to avoid stripping threads or losing small parts.
As you disassemble, group related parts together and label them. This not only helps in organization but also ensures you remember the exact location and way each component is meant to be attached. Remember, patience is key here, so take the time to meticulously deconstruct your bicycle, ensuring nothing crucial gets damaged or misplaced.
Step 3: Preparing to Prime
Before you can apply primer, you need to prepare the frame and metal components, which typically involves cleaning and sanding. Start by cleaning the bike’s frame with a degreaser to remove grime and old lubricant. This step ensures you have a clear surface to work on and facilitates better adhesion of paints and primers.
Once the frame is clean and dry, use sandpaper to remove old paint and rust, creating a smooth surface. Your goal is to reveal the bare metal, allowing the primer to adhere well. Don’t rush this process; take care to achieve uniformity in the surface, as a good base is vital for the quality of the finish later on.
Step 4: Rust Treatment
Treating rust is a crucial step in restoring vintage bicycles, as it helps prevent future damage and ensures the structural integrity of the bike. Use a rust remover or a wire brush to carefully remove rust from affected areas. This may involve some elbow grease, but it’s essential to ensure the bike’s longevity.
For persistent rust, consider using a rust converter, which chemically transforms rust into a stable compound that can be painted over. Always make sure to follow the manufacturer’s instructions for any chemicals used during this process. Not only does proper rust treatment enhance the aesthetics, but it also strengthens the bicycle’s frame for safe future riding.
Step 5: Priming the Metalwork
With a clean and smooth surface ready, it’s time to apply the primer. Priming is crucial as it sets the stage for the final paint, ensuring it adheres properly to the metal and remains vibrant and chip-resistant over time. Choose a primer designed for metal surfaces to ensure durability and effectiveness.
Apply the primer using a brush or spray, depending on coverage preferences. Maintain an even coat and allow adequate drying time between layers if more than one coat is necessary. This process lays the groundwork for the paint to bind well, minimizing future corrosion and enhancing longevity.
Step 6: Painting Time!
Painting is a thrilling step, allowing you to infuse personality and style into your vintage bicycle. Use high-quality spray paint designed for metal to achieve a smooth, even finish. Begin with light dustings, adding more layers as needed, rather than heavy coats, to prevent drips and streaks.
Always let each layer dry thoroughly before applying the next. You might opt for a clear finishing coat to protect the new paint and add a sheen. This approach not only revamps the vintage beauty but also preserves it against the elements, ensuring that your effort translates into long-lasting appeal.
Step 7: Cleaning, Degreasing, Paint Stripping the Other Components!
Aside from the frame, the other components like gears, derailleurs, and chains also need attention. Start by carefully cleaning these parts, using a degreaser to remove accumulated grease. For metal parts painted or corroded, consider stripping the old paint and applying primer and paint as needed.
Remember, some parts such as the chain or cables may require more intensive cleaning or even replacement if they are too worn. Striving for thoroughness here will ensure smoother operation and better performance post-assembly.
Step 8: Deliveries and New Parts!
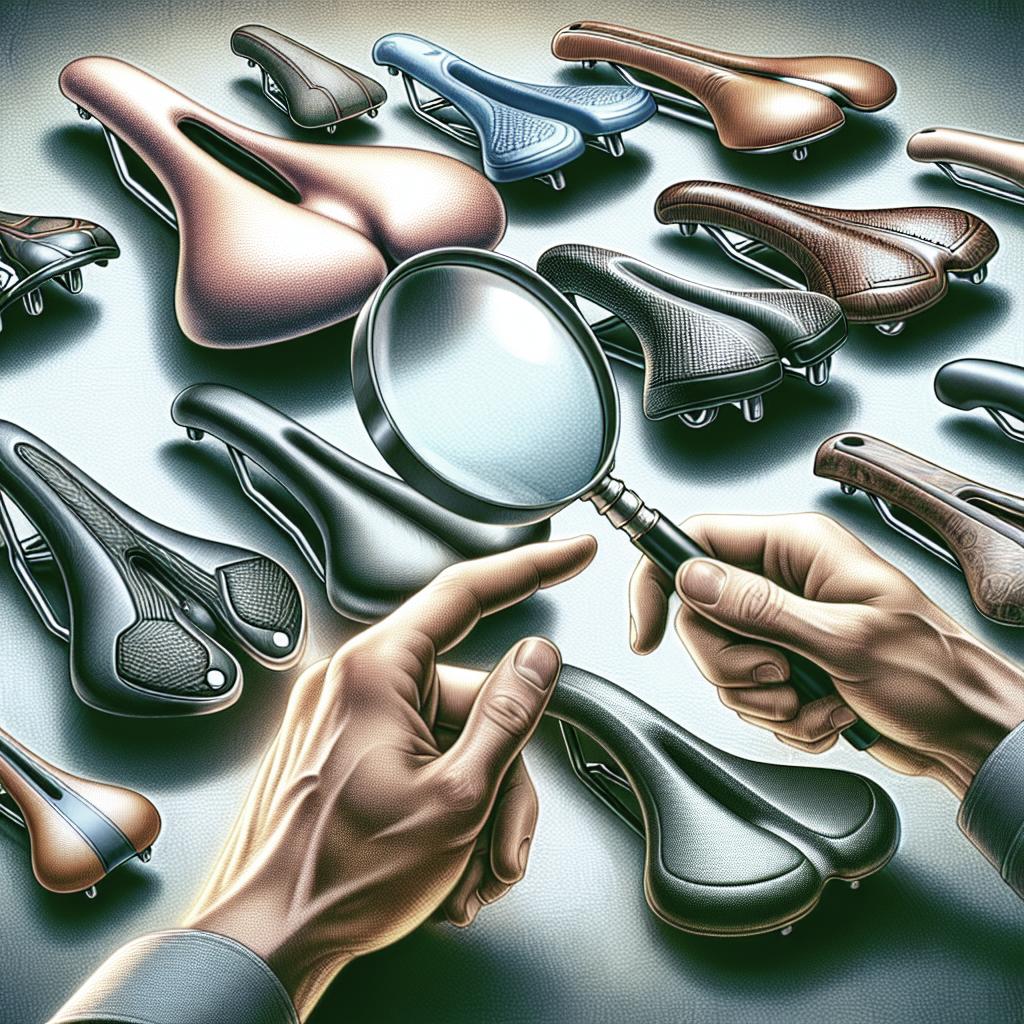
While restoring, you might notice certain parts are too damaged or outdated, requiring new components. This is an opportunity to upgrade to more reliable or period-authentic options. Consider replacements for items like brake pads, tires, or the saddle for improved safety and comfort.
Ordering new parts can be exciting, offering a plethora of modern and retro designs to choose from. Ensure they fit the specifications of your vintage model to maintain functionality and authenticity. Opting for quality over cost will provide reassurance in durability and performance.
Step 9: Replacing the Bottom Bracket and Cranks
The bottom bracket and cranks are integral to bike performance, transferring the power from the rider to the wheels. It’s crucial to ensure these components are correctly installed. When replacing, choose appropriate tools to fit them snugly onto the frame without forcing or compromising the threads.
Test the movement for smoothness without grinding or play, indicating a perfect fit. Ensuring precision during this step affects how well the bike handles and maintains its vintage charm while delivering a modern ride experience.
Step 10: The Chain Goes Back On
After cleaning or replacing the chain, it’s time to reinstall it. A well-maintained chain is crucial for efficient pedaling and overall bike performance. Use a chain tool to reconnect split links seamlessly, ensuring a smooth, continuous loop.
The chain must be properly lubricated before installation, ideally using a quality bike chain lubricant to combat friction and corrosion. Adjust the tension properly, ensuring it’s neither too tight nor too loose, for optimal function and minimal wear on the drivetrain.
Step 11: Brakes and Cables
Brakes are perhaps the most important safety feature on any bicycle, so restoring them to full functionality is critical. Inspect brake pads and replace them if they’re worn. Ensure that brake cables and housing are in good condition, replacing them if necessary for responsive stopping power.
When reinstalling, make sure to adjust the tension accurately so the brakes respond promptly without dragging. Proper cable routing not only optimizes function but also maintains the bike’s aesthetic, supporting both safety and style in your vintage restoration.
Step 12: Finishing Touches
The final step in any restoration project is adding finishing touches, which may involve reattaching decals, reupholstering the seat, or updating the grips on the handlebars. These elements contribute to both the bike’s look and comfort.
You might also want to accessorize with vintage-inspired lights or a basket. These personal touches complete the restoration, making the bicycle truly yours and allowing the unique character of your vintage ride to shine through.
Step 13: Summary of Main Points
| Step | Description |
|---|---|
| 1. Tools & Materials | Gather essential tools and high-quality materials for restoration. |
| 2. Disassembly | Carefully dismantle the bike, noting each part’s placement. |
| 3. Preparation | Clean and sand the frame to prepare for priming. |
| 4. Rust Treatment | Remove or treat rust to prevent damage and prepare for painting. |
| 5. Priming | Apply an even coat of metal primer to ensure paint longevity. |
| 6. Painting | Paint the frame with your choice of quality paint for durability. |
| 7. Component Care | Clean and treat other components to ensure overall functionality. |
| 8. New Parts | Order and fit new or upgraded parts for enhanced performance. |
| 9. Bottom Bracket | Install and align the bottom bracket and cranks. |
| 10. Chain | Reattach and lubricate the chain properly. |
| 11. Brakes | Ensure brakes and cables are functional and properly adjusted. |
| 12. Finishing Touches | Add aesthetic and functional finishing elements to the bike. |
“`