“`html
Common Bike Repair Mistakes: Avoiding the Pitfalls
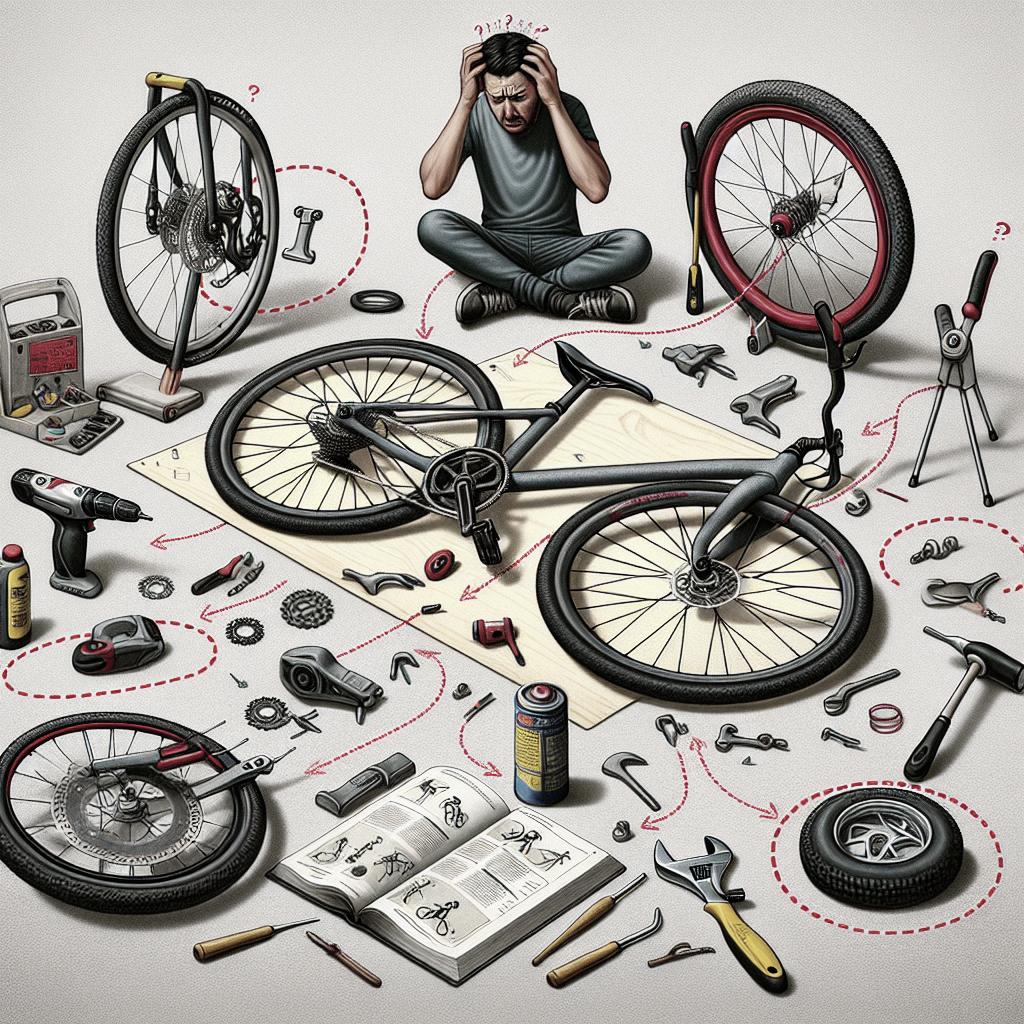
Whether you’re an avid cyclist or a casual rider, maintaining your bicycle in peak condition is crucial. However, in our zeal to do things ourselves, we often make avoidable mistakes that can lead to further complications or unreliable rides. This blog post highlights some of the common bike repair mistakes you should steer clear of. From reversing tire rotation during installation to the incorrect use of lubricants, each section offers insights into how these errors occur and what you can do to avoid them. By being aware of these frequent missteps, you can ensure your ride remains smooth and your bike remains functional for years to come.
1. Reversing Tire Rotation on Installation
When installing tires, it’s important to pay attention to the directional arrows molded onto the sidewalls. These arrows indicate the correct direction for the rotational pattern of the tire, optimizing traction and reducing rolling resistance. Unfortunately, it is common for bike enthusiasts to overlook these indicators during installation, inadvertently reversing the tire’s direction.
Installing a tire in the wrong rotation can compromise grip, especially in wet conditions. You may also experience reduced control, leading to unnecessary wear and tear. Avoid this mistake by always checking the sidewall for directional arrows before fitting a new tire. A simple glance can save you from potential accidents and costly damages in the future.
2. Over-tightening Bolt
Over-tightening bolts is a common bike repair mistake often resulting from an attempt to ensure components remain securely in place. While it might feel reassuring to crank down on a bolt, excessive force can lead to stripped threads, damaged components, and even failure while riding.
Most bikes come with a specific torque range for bolts. It’s crucial to invest in a good quality torque wrench and become familiar with your bike’s specified settings. Following these guidelines ensures each component is installed correctly without compromising the material’s integrity, ultimately extending your bike’s longevity.
3. Losing Cable During Internal Routing
Cable routing can be tricky, particularly with modern bikes featuring internal cable systems. A frequent mistake involves losing the cable while attempting to thread it through the frame. This mishap can turn a straightforward task into a frustrating ordeal.
To avoid losing cables, consider using cable guides or threading tools specifically designed for internal routing. Patience and precision can prevent you from accidentally dropping cables inside the frame, saving both time and energy in your repair process.
4. Sealant Burst on Tubeless Tires
Tubeless tires are a favorite among seasoned cyclists for their ability to provide a smoother ride and reduce the chance of pinch flats. However, improper handling can lead to sealant bursts. This often happens when the tire bead does not seat correctly during inflation.
Choosing the right pressure setting and ensuring the tire bead is evenly seated around the rim are integral steps that can prevent sealant spills. Before inflating, double-check that the bead is snugly fitted to avoid unpleasant surprises and a mess to clean up.
5. Using Wrong Lube
Lubrication is an essential part of bike maintenance, yet using the wrong type can cause more harm than good. Oil and grease formulations vary to suit diverse conditions—some for dry environments and others for wet. Misusing these products can lead to faster chain wear and gear slippage.
Familiarize yourself with the different lubrication options available and choose one tailored to your riding conditions. Proper lubricant selection not only enhances performance but prolongs the lifespan of your bike’s moving parts.
6. Removing Pedals
Removing pedals seems simple in theory but can become complex given the left and right pedals’ opposing threading. Common mistakes include improper tools and incorrectly guessing thread directions, resulting in damaged threads or crank arms.
An easy rule to remember: the right pedal loosens counterclockwise, while the left pedal does the opposite. Use a dedicated pedal wrench to avoid stripping and always double-check your manual for guidance if unsure.
7. Greasing Seatpost
A greased seatpost can appear innocuous, yet it often leads to a condition known as a “slipped seatpost.” This occurs when the grease reduces friction, allowing it to slide down during rides. It can become an annoyance and compromise your riding posture.
It’s vital to check manufacturer recommendations before applying grease, as some seatposts should remain dry. If grease is necessary, apply sparingly so as not to encourage unwanted movement.
Final thoughts
| Mistake | Consequence | How to Avoid |
|---|---|---|
| Reversing Tire Rotation | Compromised grip and wear | Check sidewall directional arrows |
| Over-tightening Bolts | Stripped threads, damaged components | Use a torque wrench and follow guidelines |
| Losing Cable During Routing | Time-consuming recovery | Use cable guides or threading tools |
| Sealant Burst on Tubeless Tires | Messy cleanup and wasted sealant | Ensure even tire bead seating |
| Using Wrong Lube | Gear slippage and faster wear | Select suitable lube for conditions |
| Removing Pedals Incorrectly | Damaged threads or crank arms | Understand threading and use correct tools |
| Greasing Seatpost | Seatpost slippage | Apply sparingly or not at all based on advice |
“`


